If you’re considering a DIY approach to installing a mini split system, you’re not alone. Many homeowners are attracted to the cost-saving potential and the satisfaction of a job well done. One popular option for DIY enthusiasts is the Mr. Cool mini split. These systems are designed to be more accessible for homeowners looking to take on their own installation. However, achieving a successful installation requires careful attention to detail, including steps like nitrogen testing and vacuuming. In this blog post, we’ll explore why Mr. Cool mini splits are a great choice for DIY projects and offer tips to ensure a successful installation.
Why Choose Mr. Cool Mini Split Systems?
1. Designed for DIY Installation
The Mr. Cool mini split systems are specifically designed with the DIY installer in mind. They come with pre-charged refrigerant lines, which simplifies the installation process by eliminating the need for a professional refrigerant charge. This feature makes it easier for homeowners to complete the installation without requiring specialized tools or expertise.
2. Comprehensive Instructions
Mr. Cool provides detailed installation instructions and videos to guide you through each step of the process. This support helps demystify the installation and makes it more manageable for those who may not be HVAC professionals but are handy with tools.
3. Quality and Efficiency
Despite being DIY-friendly, Mr. Cool mini splits maintain high standards of efficiency and performance. They offer the same benefits as other high-quality mini splits, including energy efficiency, quiet operation, and zoned heating and cooling.
Key Steps for a Successful DIY Installation
1. Plan Your Installation
Before starting, carefully plan where you will place both the indoor and outdoor units. Consider factors like access to power, clearances, and the layout of your home to optimize the performance of the mini split system.
2. Install the Mounting Bracket and Indoor Unit
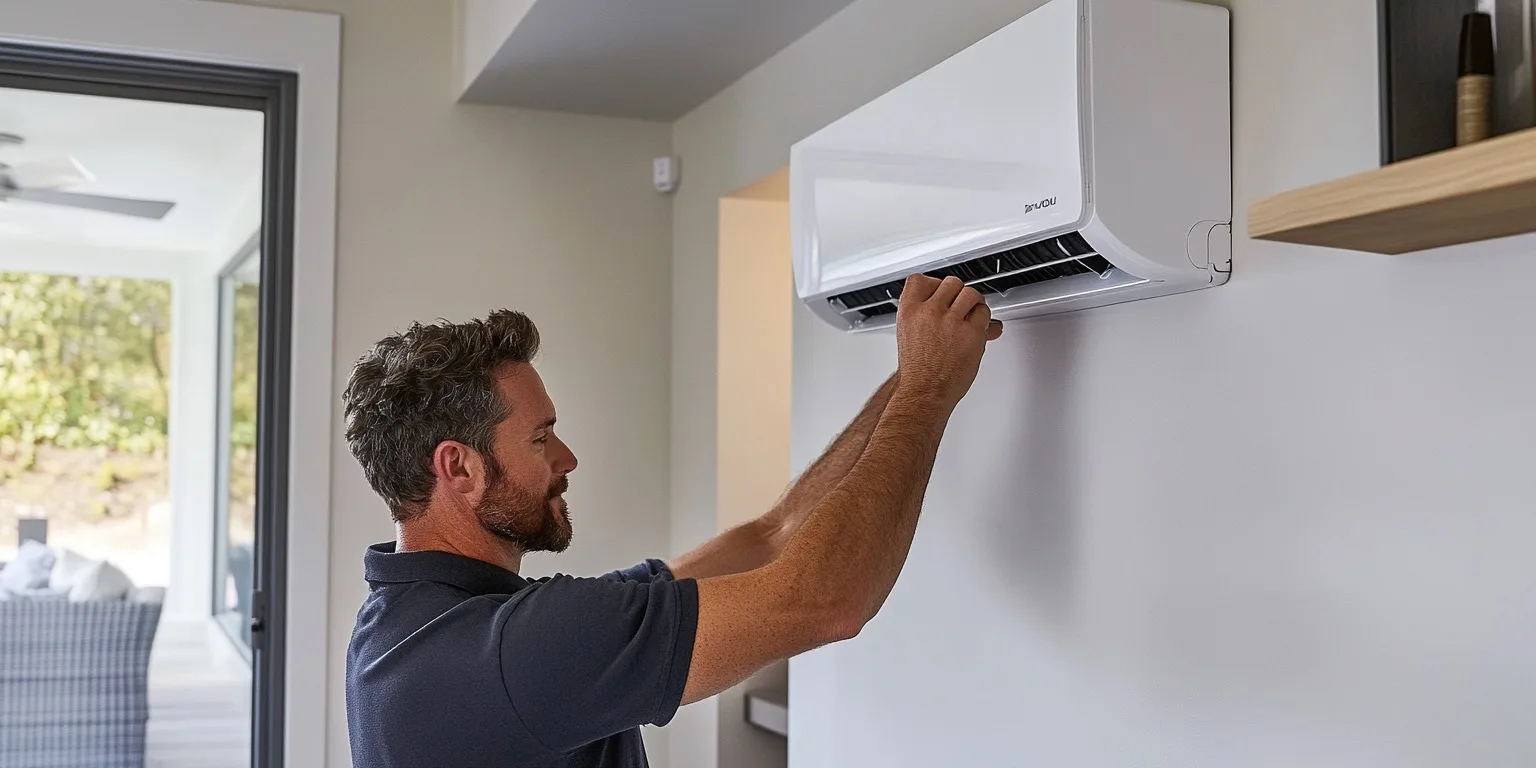
Mount the indoor unit on the wall using the bracket provided. Ensure that it is level and securely fastened. The unit should be positioned for optimal air circulation and should not obstruct any vents.
3. Connect the Lines
Attach the pre-charged refrigerant lines to the indoor unit. Make sure that the connections are tight and secure to prevent any leaks.
4. Perform a Nitrogen Test
A crucial step in the installation process is conducting a nitrogen test to check for any leaks. This involves pressurizing the refrigerant lines with nitrogen and monitoring the pressure over time. If the pressure drops, it indicates a leak that needs to be addressed before proceeding.
5. Vacuum the System
After ensuring there are no leaks, use a vacuum pump to remove any air and moisture from the refrigerant lines. This step is essential because air and moisture can affect the efficiency and longevity of your mini split system. Ensure that the system reaches the recommended vacuum level as specified in the installation manual.
6. Connect the Outdoor Unit
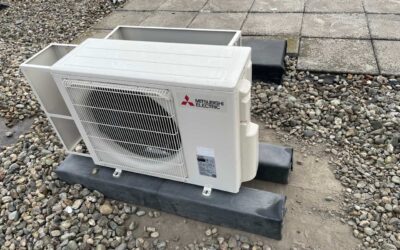
Install and connect the outdoor condenser unit, ensuring that it is properly leveled and has adequate clearance for ventilation. Connect the refrigerant lines from the indoor unit to the outdoor unit.
7. Power Up and Test
Once everything is connected, power up the system and test it to ensure that it’s operating correctly. Check for any unusual noises or issues with cooling or heating performance.
We’re Here to Help
While DIY installation can be a rewarding project, it’s important to remember that professional assistance is available if needed. At Armus Mechanical, we offer support for customers who want to tackle a DIY mini split installation but might need a bit of extra help. Whether you need guidance through the process or a professional to review your work, we’re here to assist you.
Conclusion
The Mr. Cool mini split system is an excellent choice for homeowners interested in a DIY installation due to its user-friendly design and efficient performance. By following the correct installation procedures—such as conducting a nitrogen test and properly vacuuming the system—you can ensure that your mini split operates efficiently and provides comfort for years to come. If you ever need help or have questions during your DIY project, don’t hesitate to reach out to us for support.


